Here, I am using Visual Studio 2017 and Management Studio. These are the steps we need to follow:
Create a Blank Web API Project
Here, I am going to create a new project. To do that, I’ll follow these steps:
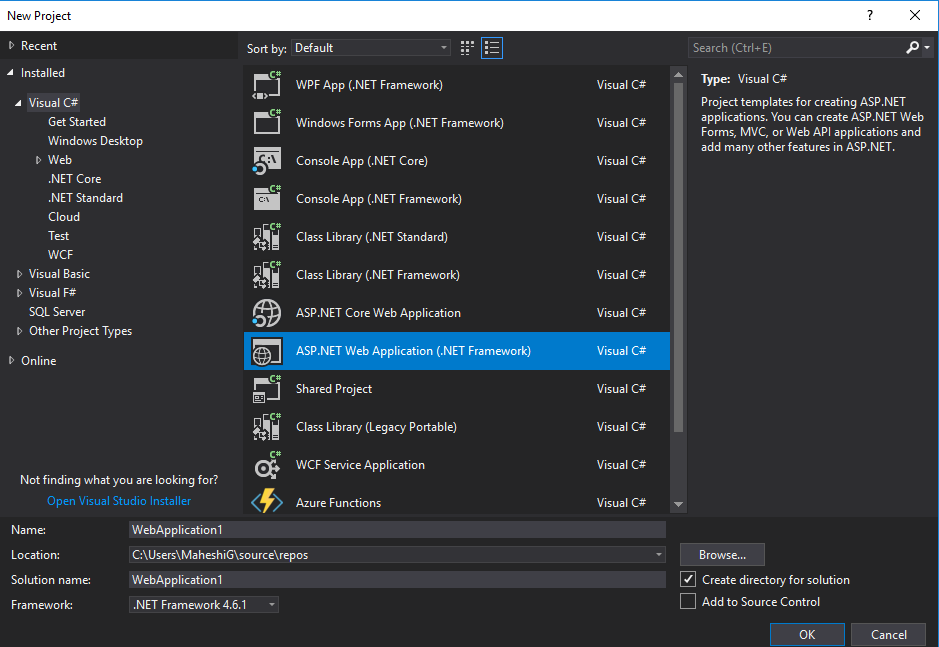
File → New → Project and select “ASP.NET Web Application (.NET Framework)” project, as can be seen in Figure 1.
Let’s name our project as “StudentServices” and click on “OK.”

Now, you will get a window containing some templates. We can choose from these templates when creating our API.
Select Web API in the Template Selection Window
Lets select “Web API” in the template selection window, which can be seen in Figure 2. Make sure the Authentication is set at “No Authentication.”


Create a Table and Insert Data to the Database Table
Let’s create a database called “StudentDetails,” and let’s name our table “Student.”
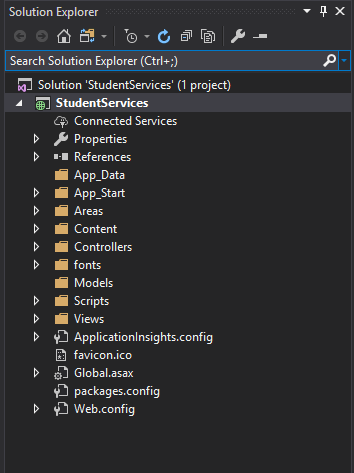
Now, we are going back to our Visual Studio project. As you can see, we have successfully created our empty Web API project.

Add a Web Service
Now we are going to create a web service that will contain the ADO.NET Entity Data Model that retrieves the data from the SQL SERVER.
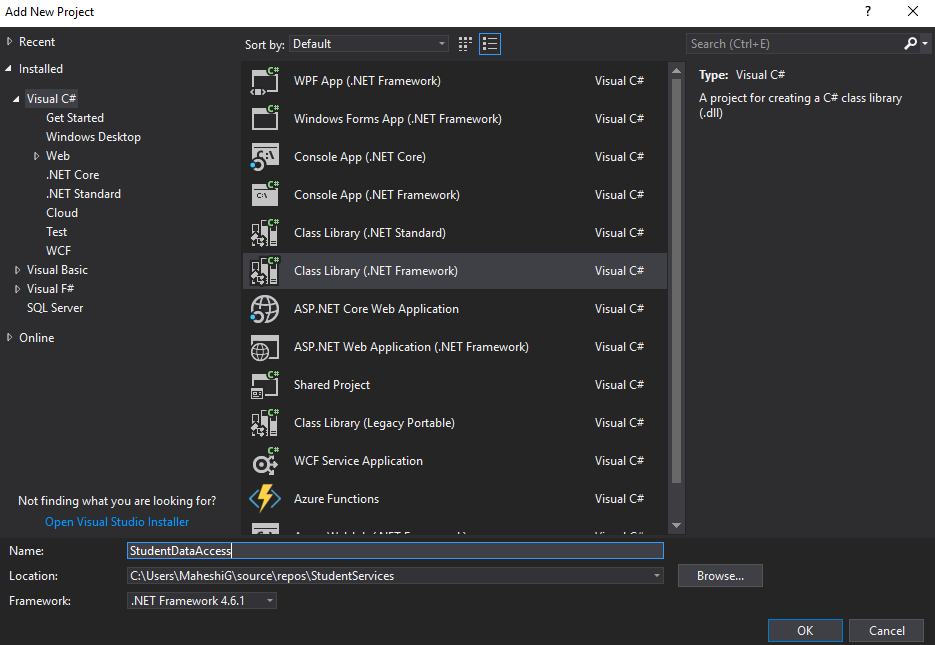
Let’s add a new project. To do that, right click on Solution → Add → New Project.
Select Class Library (.NET Standard), and let’s name it “StudentDataAccess.”
Delete the class1.cs file since we don’t need that auto-generated class.

Add an ADO.NET Entity Data Model
As I mentioned before, we have to create a web service that will contain the Entity Data Model. So now we are going to add an ADO.NET Entity Data Model to “StudentDataAccess” project.
Note: When I went to add an ADO.NET Entity Data Model to “StudentDataAccess” project, the ADO.NET data model was missing.
This is how I overcame that Issue: Tools → Get Tools and Features →Select Individual components tab. Please make sure you have selected SQL Server Data Tools, Entity Framework 6 tools components. Then, modify the changes and launch VS 2017.
This will happen if you select the Class Library(.NET Standard) template when you are creating your Data Access Project. Please make sure you select the class Library(.NET Framework) template.
Let’s add the ADO.NET Data Entity model now.
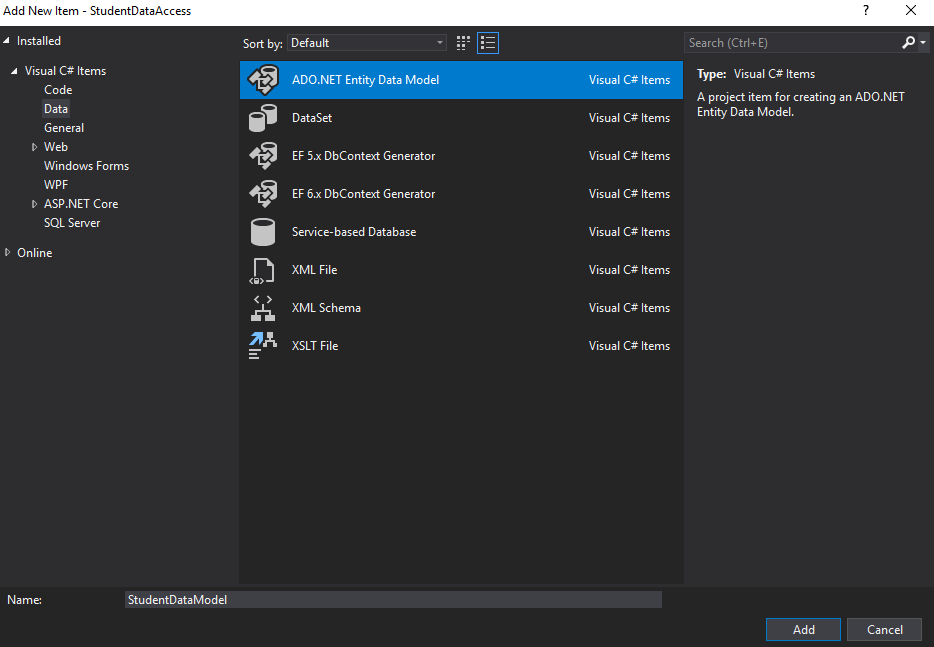
Right click on “StudentDataAcess” Project →Add →New Item → ADO.NET Entity Data Model. Name it as “StudentDataModel.”

Next, the screen below will appear. So we are going to select the first option which is “EF Designer from database.”


Create a New Connection With the SQL Server
Now, we will create a new connection with the SQL server, and we’ll refer it to our database as well.
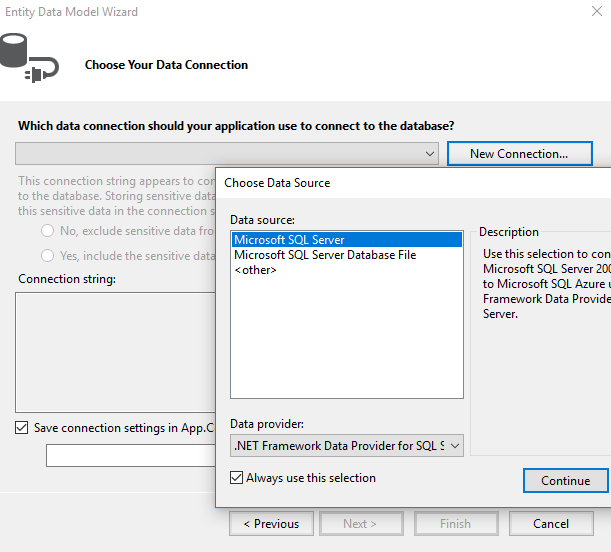
Click on the “New Connection” button and select the “Microsoft SQL Server” as your data source. Then, click continue.

Now you will get a Connection Properties window.
Here, select your server name, the correct authentication( Windows/SQL Server), and the correct database that you need to retrieve data. For example, “StudentDetails.”
Test the connection using the “Test Connection” button.


Generate Entities From Database
Here, the Entity Framework is going to see a connection string with the name “StudentDetailsEntities” within the file APP.config in the “StudentDataAcess” class library project.


Make sure you have chosen the correct database object and settings in the Entity Data Model Wizard. The model will be created as “StudentDetailsModel.”


Now you can see the “StudentDetailsModel” was created successfully. Click on the file StudentDetailsModel.edmx. Then, you will see the Student Entity with its attributes.


You can see the connection string in the App.config file. The connection string here is “StudentDetailsEntities,” which contains the “Student” Table.
We have to use this Class Library in our Web API Project.
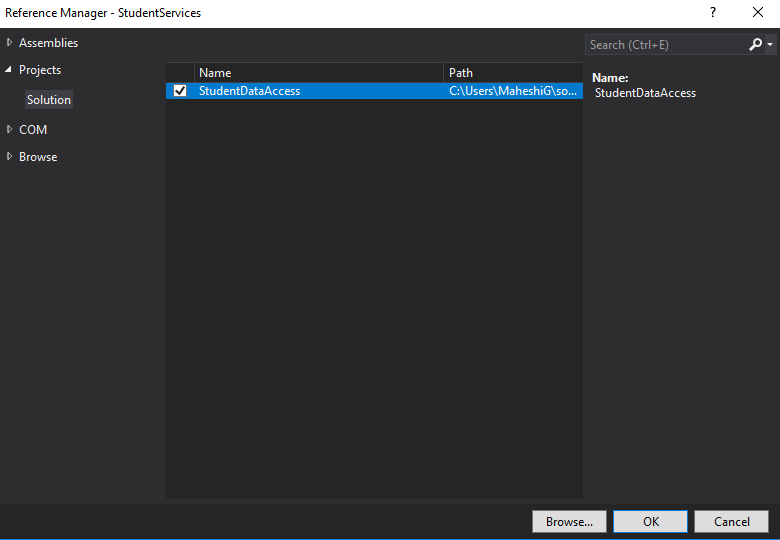
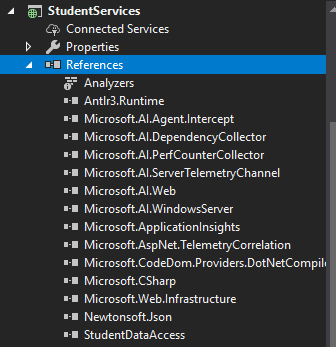
Right click on the References in StudentServices project.
Here, you will see the “StudentDataAccess” class library project. (Build the StudentDataAcess project before you add it as a reference to the StudentServices project.)


Add a Controller
The next step is to add a Controller to our Web API Project. So, right click on the Controller folder and click on Add Controller.
You will get different options with templates for MVC and Web API Controllers. Let’s select the “Web API 2 Controller — Empty” template.


Name the controller as “StudentController.”


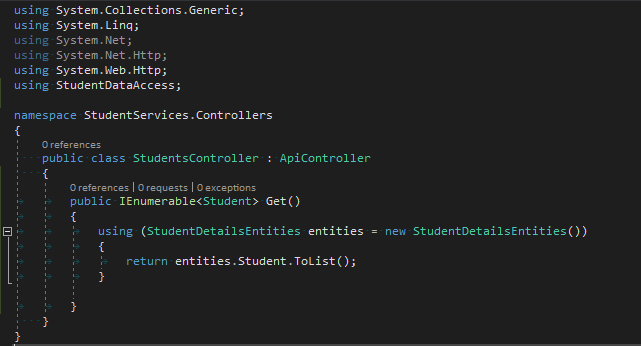
Now you have successfully created the Controller, we will add a namespace StudentDataAccess as our class Library name “StudentDataAccess.” Now, in our Controller class, we will add a GET method which will respond to GET HTTP verb. This will return IEnumerable Object.
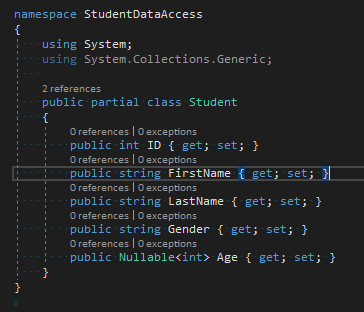
Double click on the file Student.cs. You’ll then see the properties that correspond to the columns in our Student tab;e.

Write GET Method Which Will Respond to the HTTP GET Verb
So as our next step, we need to create an instance of our DbContext class. You can see the StudentDataModel.context.cs file. The StudentDetailsEntities inherits from the DbContext class.
So, this is the class StudentDetailsEntities that manages the database and retrieves entities for us. So, in our Controller class, let’s use StudentDetailsEntities. It will return the list of students as:
- Return all the employees.

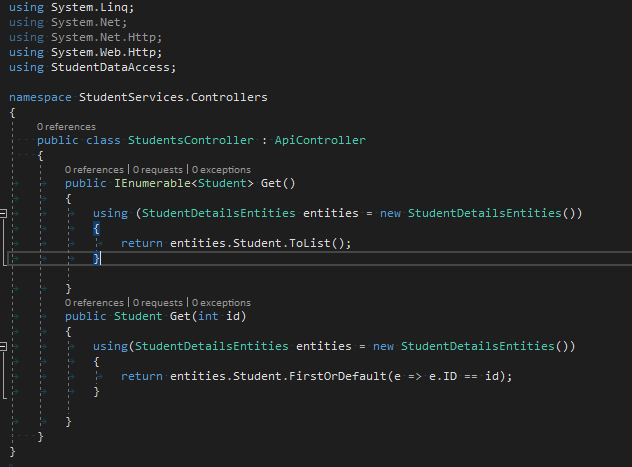
2. Return a specific employee by ID
Let’s add this line to our controller class. Here, we change the return type to “Student” because we want to return that student. I have used the lambda expression here in each Student ID. That ID is equal to the ID which we had used in our GET parameter.

Now that we have done all the implementations, let’s try to build and run our project.
Run the Project
Now, build the solution and run the app.
You will get an error as follows.


This is how you need to rectify that issue.
We have a connection string in our App.config named StudentDetailsEntities, but the problem is the StudentDetailsEntities is not present in the web.config as Entity Framework looks for web.config.
So, copy that connection string line from the app.config file and paste in our web.config file. Then, reload the application.
<connectionStrings>
<add name=”StudentDetailsEntities” connectionString="your connection string />
</connectionStrings>
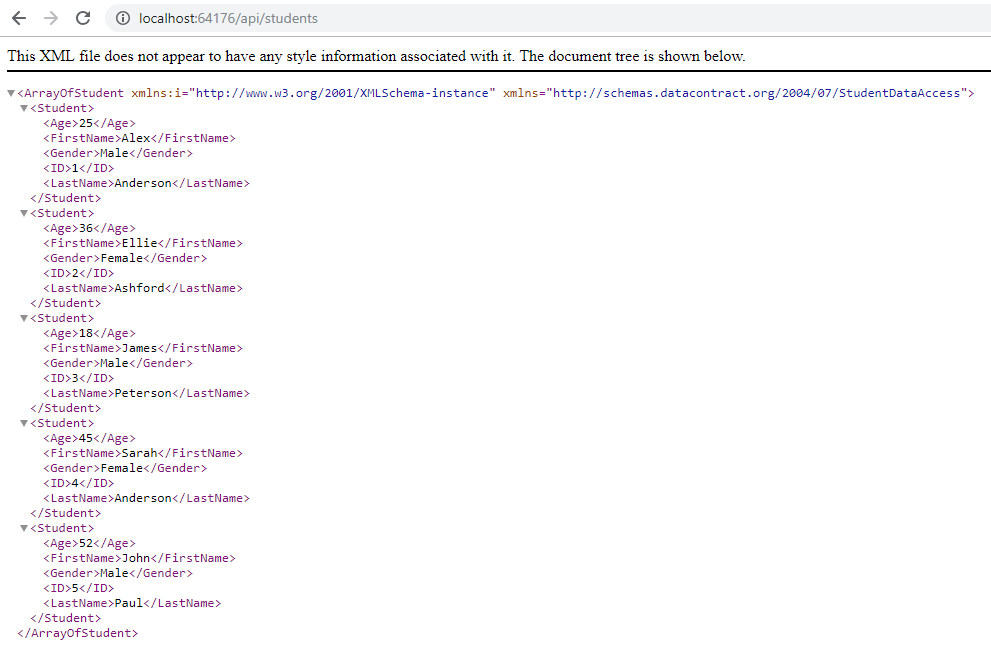
The output will look like this.
Display all the students

Display a student by ID


Comments
Post a Comment